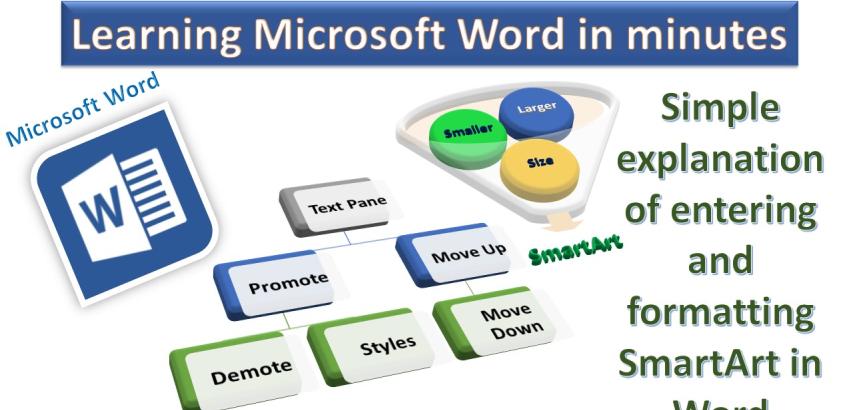
Microsoft Word offers powerful tools for visual communication, and SmartArt is a versatile feature that allows users to create dynamic graphics. This step-by-step guide will walk you through the process of inserting and formatting SmartArt in your Word document.
Insert SmartArt:
Open your Microsoft Word document.
Navigate to the "Insert" tab.
Click on "SmartArt" in the Illustrations or Images group.
Choose a category and layout for your SmartArt diagram.
Click "OK" to insert the SmartArt graphic into your document.
Layouts:
After inserting SmartArt, you can explore different layouts by selecting the graphic.
Go to the "Design" tab to find various layout options.
Experiment with different layouts until you find the one that suits your content.
Add Shape:
Select the SmartArt graphic.
In the "Design" tab, click on "Add Shape."
Choose the type of shape you want to add, and it will be inserted into your SmartArt.
Text Pane:
To manage text efficiently, use the Text Pane.
Click on the left side of the SmartArt graphic to reveal the Text Pane.
Edit text directly in the Text Pane for better control over your content.
Add Bullet:
Click on a text box within the SmartArt graphic.
Use the "Add Bullet" option to create a list, enhancing the structure of your content.
Promote:
Select a shape in your SmartArt.
Click "Promote" in the "Design" tab to move the selected shape to a higher level.
Demote:
Select a shape.
Use the "Demote" option in the "Design" tab to move the selected shape to a lower level.
Right to Left:
Adjust the direction of your SmartArt by selecting "Right to Left" in the "Design" tab.
Move Down & Up:
Right-click on a shape.
Use "Move Down" or "Move Up" to rearrange the order of shapes.
Change Shape:
Right-click on a shape.
Select "Change Shape" to choose a different shape for your SmartArt.
Change Colors:
Click on the SmartArt graphic.
Navigate to the "SmartArt Tools" tab and choose "Change Colors" to modify the color scheme.
Styles:
Explore different styles for your SmartArt in the "Design" tab under "SmartArt Styles."
Format Shape:
Right-click on a shape.
Choose "Format Shape" to access advanced formatting options.
Larger & Smaller:
Click on an image or shape.
Use "Larger" or "Smaller" options to adjust the size of the selected element.
Edit In 2D:
Right-click on a shape.
Select "Edit in 2D" to make adjustments to the shape in two dimensions.
Styles & Effects:
Explore various styles and effects available in the "Design" tab.
Size:
Fine-tune the size of shapes or images by clicking on "Size" and adjusting dimensions.
By following these steps, you can effectively insert and format SmartArt in Microsoft Word, enhancing the visual appeal of your documents with dynamic and organized graphics.
