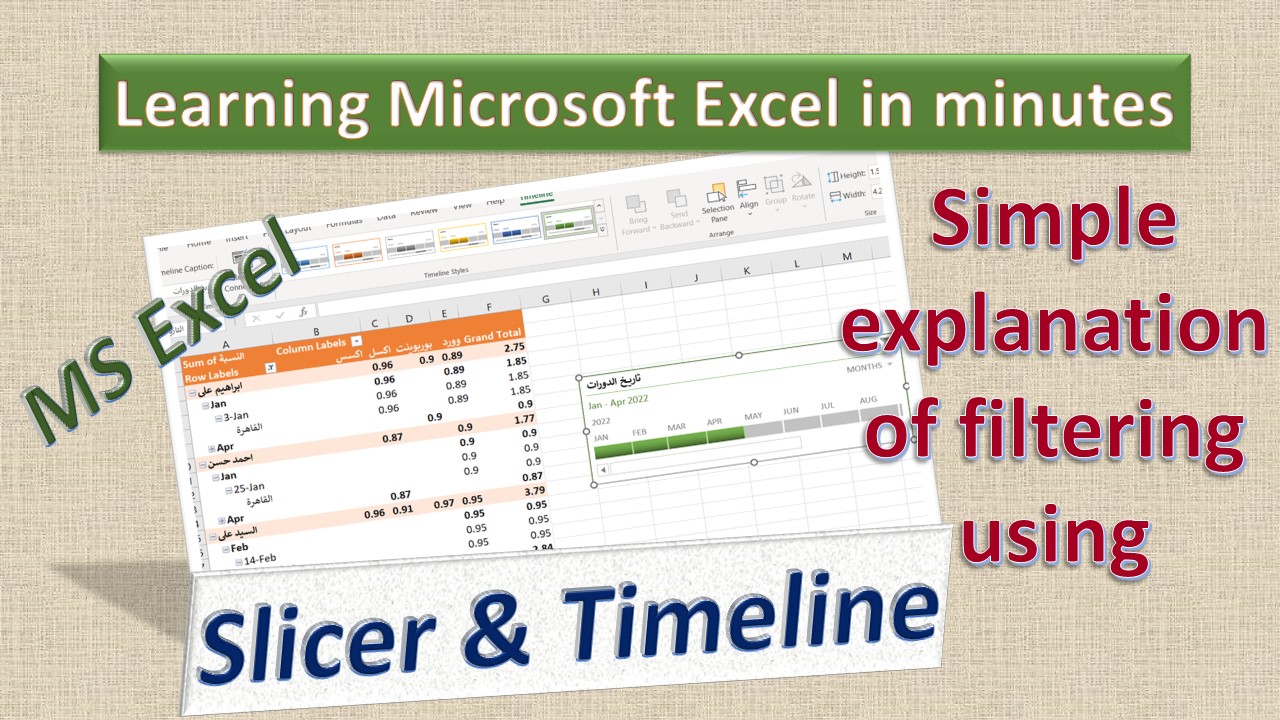
Filtering data in Microsoft Excel can be an effective way to analyze specific segments of your data set. Two powerful tools for filtering data are the Slicer and Timeline features. Slicers provide an interactive way to filter data in tables or PivotTables, while Timelines allow for dynamic date-based filtering. In this guide, we will walk you through how to insert and use Slicers and Timelines in Excel, customize their designs, and remove them when no longer needed.
Insert Slicer
Open Excel and Select Data Table or PivotTable:
Open your Excel workbook and select the table or PivotTable that you want to filter.
Insert Slicer:
Go to the "Insert" tab on the Ribbon.
Click on "Slicer" in the "Filters" group.
A dialog box will appear listing all the fields in your table or PivotTable.
Select Fields for Slicer:
Check the boxes next to the fields you want to use as filters.
Click "OK."
Make Filters
Use the Slicer:
The Slicer will appear as a floating window on your worksheet.
Click on any of the buttons within the Slicer to filter the data.
You can select multiple items by holding down the "Ctrl" key while clicking.
Clear Filters:
To clear the filter, click the "Clear Filter" button (a funnel with a red cross) at the top right of the Slicer.
Slicer Design
Modify Slicer Design:
Click on the Slicer to select it.
Go to the "Slicer Tools" tab that appears on the Ribbon.
Use the "Slicer Styles" gallery to choose a pre-defined style.
Adjust the height, width, and number of columns from the "Buttons" group.
Customize Slicer Caption:
Click on the Slicer to select it.
Click inside the caption area at the top of the Slicer.
Type your custom caption and press "Enter."
Remove Slicer
Remove the Slicer:
Right-click on the Slicer you want to remove.
Select "Remove Slicer" from the context menu.
Insert Timeline
Remove the Slicer:
Open your Excel workbook and select the table or PivotTable that contains date fields.
Insert Timeline:
Go to the "Insert" tab on the Ribbon.
Click on "Timeline" in the "Filters" group.
A dialog box will appear listing all date fields in your table or PivotTable.
Select Date Field for Timeline:
Check the box next to the date field you want to use.
Click "OK."
Make Filters
Use the Timeline:
The Timeline will appear as a floating window on your worksheet.
Use the slider to select the time period you want to filter.
You can switch between filtering by years, quarters, months, or days using the buttons on the Timeline.
Clear Timeline Filters:
To clear the filter, click the "Clear Filter" button (a funnel with a red cross) at the top right of the Timeline.
Timeline Design
Modify Timeline Design:
Click on the Timeline to select it.
Go to the "Timeline Tools" tab that appears on the Ribbon.
Use the "Timeline Styles" gallery to choose a pre-defined style.
Adjust the height and width as needed.
Customize Timeline Caption:
Click on the Timeline to select it.
Click inside the caption area at the top of the Timeline.
Type your custom caption and press "Enter."
Using Slicers and Timelines in Excel enhances your ability to interactively filter and analyze data. Slicers provide a user-friendly way to filter data based on categorical fields, while Timelines offer an intuitive approach to date-based filtering. Customizing the design of Slicers and Timelines allows for better visual integration into your reports. Removing them is simple when they are no longer needed. By mastering these tools, you can greatly improve your data analysis workflow in Excel.