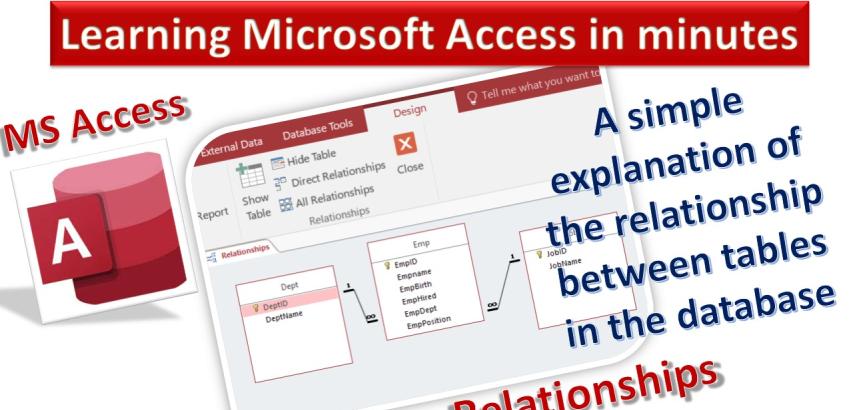
Creating relationships in Microsoft Access is essential for maintaining data integrity and ensuring that your database functions correctly. Relationships help establish connections between tables based on common fields, which allows you to retrieve and manipulate data effectively. Here's how you can create relationships in Microsoft Access:
Open Your Database: Launch Microsoft Access and open the database in which you want to create relationships.
View the Tables: Make sure the database window is open and that you can see the list of tables.
Design Your Tables: Before you create relationships, ensure that your tables are properly designed with the necessary fields and data types. Common fields between tables are typically used to establish relationships.
Identify the Common Field: Determine which field(s) in one table correspond to the field(s) in another table. These common fields are usually primary keys (unique identifiers) in one table and foreign keys (references) in another.
Create Relationships: To create relationships between tables, follow these steps:
In the database window, click on the "Database Tools" tab in the ribbon.
In the "Show/Hide" group, click on "Relationships." This opens the Relationships window.
In the Relationships window, you'll see a list of all your tables. Drag and drop the table(s) you want to relate from the database window into the Relationships window. You can also double-click on the table names to add them.
To create a relationship, click and drag the field from one table (usually the primary key) to the corresponding field in the other table (usually the foreign key). A dialog box called "Edit Relationships" will appear.
In the "Edit Relationships" dialog box, you can specify how you want the relationship to be enforced:
Enforce Referential Integrity: This option ensures that the values in the foreign key field always match the values in the primary key field.
Cascade Update Related Fields: If you update the primary key, this option allows you to update related foreign key values automatically.
Cascade Delete Related Records: If you delete a record in the primary key table, this option allows you to delete related records in the foreign key table automatically.
Click "Create" to create the relationship.
View and Edit Relationships: The Relationships window will display lines connecting the related tables, indicating the relationships you've created. You can double-click these lines to edit the relationships, change options, or delete them.
Save Your Relationships: Ensure you save your relationships by clicking the "Save" button in the Relationships window.
Test Your Relationships: After creating relationships, test them by entering and retrieving data to ensure that data integrity is maintained as expected.
Remember to plan your database structure carefully and understand the relationships between your tables before creating them, as improper relationships can lead to data inconsistencies and errors in your database.
