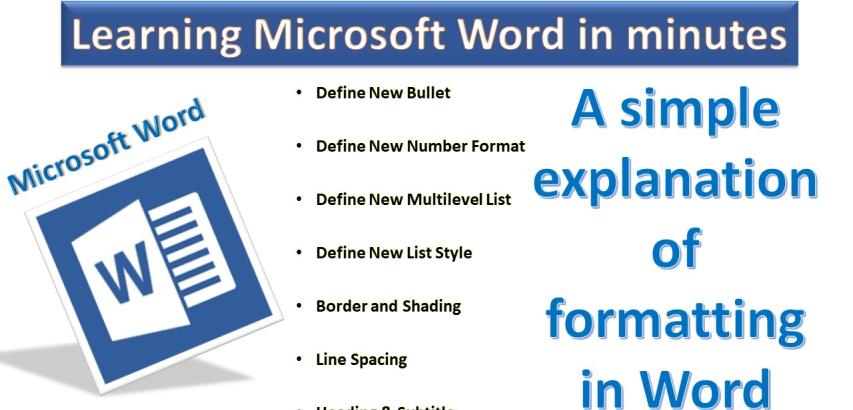
Formatting in Microsoft Word allows you to enhance the appearance and structure of your documents. Here's a step-by-step guide on some essential formatting features in Microsoft Word:
1. Font Formatting:
Open your Microsoft Word document.
Highlight the text you want to format.
In the "Font" group on the "Home" tab, you can:
Click the "Bold" button (B) to make the text bold.
Click the "Italic" button (I) to italicize the text.
Click the "Underline" button (U) to underline the text.
Click the "Strikethrough" button (abc with a line through it) to strikethrough the text.
Click the "Subscript" button (X₂) to format text as subscript.
Click the "Superscript" button (X²) to format text as superscript.
Use the "Font Size" dropdown to increase or decrease the text size.
Click the "Change Case" button (Aa) to change the text case (e.g., sentence case, lowercase, UPPERCASE).
Click the "Font Color" button to change the text color.
Click the "Text Effects" button (A with a shadow) to apply various text effects.
Click the "Text Highlight Color" button to change the background color behind the text.
Click the "Clear Formatting" button (Eraser) to remove all applied formatting.
2. Text Alignment:
Highlight the text you want to align.
In the "Paragraph" group on the "Home" tab, you can:
Click the "Align Left" button (left-align icon) to left-align the text.
Click the "Center" button (center-align icon) to center-align the text.
Click the "Align Right" button (right-align icon) to right-align the text.
Click the "Justify" button (justify-align icon) to justify-align the text.
3. Bullets and Numbering:
Place your cursor where you want to create a bulleted or numbered list.
In the "Paragraph" group on the "Home" tab, you can:
Click the "Bullets" button to start a bulleted list.
Click the "Numbering" button to start a numbered list.
4. Define New Bullet:
To define a custom bullet:
Click the drop-down arrow next to the "Bullets" button.
Select "Define New Bullet."
In the "Define New Bullet" dialog box, choose a symbol or picture for your custom bullet and click "OK."
5. Define New Number Format:
To define a custom numbering format:
Click the drop-down arrow next to the "Numbering" button.
Select "Define New Number Format."
In the "Define New Number Format" dialog box, customize the numbering format and click "OK."
6. Multilevel Lists:
To create a multilevel list:
Place your cursor where you want to create the list.
In the "Paragraph" group on the "Home" tab, click the drop-down arrow next to the "Numbering" button.
Select a multilevel list format.
7. Define New Multilevel List:
To define a custom multilevel list:
Create a multilevel list as described above.
Right-click on a list item and choose "Define New Multilevel List."
Customize the levels and numbering format in the dialog box.
8. Define New List Style:
To create a custom list style:
Click the drop-down arrow next to the "Multilevel List" button.
Select "Define New List Style."
Customize the style settings in the dialog box and click "OK."
9. Line Spacing:
Highlight the text you want to adjust.
In the "Paragraph" group on the "Home" tab, use the "Line Spacing" dropdown to select single, 1.5 lines, double, or customize the line spacing.
10. Borders and Shading: - To add borders and shading to text or paragraphs: - Highlight the text or paragraph you want to format. - In the "Paragraph" group on the "Home" tab, click the "Borders" dropdown to add borders. - For shading, click the "Shading" button and choose a fill color.
11. Heading & Subtitle: - To create headings and subtitles: - Place your cursor where you want the heading or subtitle. - In the "Styles" group on the "Home" tab, select "Heading 1" or "Heading 2" for headings or "Subtitle" for subtitles.
These formatting options in Microsoft Word give you control over the appearance and structure of your documents, allowing you to create professional and visually appealing content.
