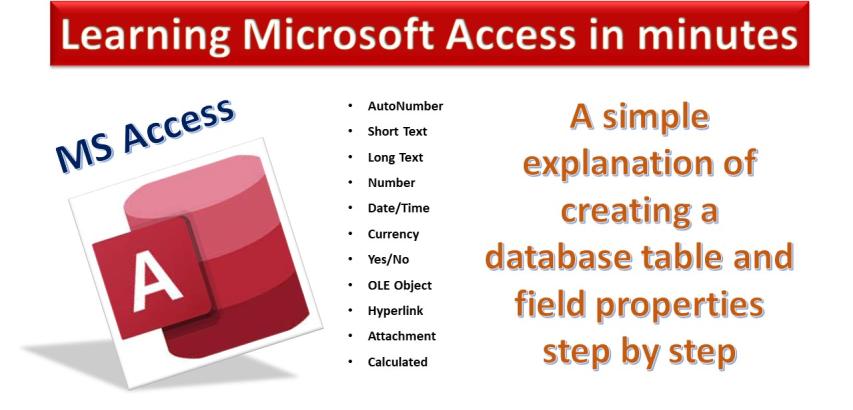
Creating a table in Microsoft Access involves defining the fields (columns) that the table will contain and specifying the data types for each field. Here's a step-by-step guide on how to create a table in MS Access:
Open Microsoft Access: Launch Microsoft Access on your computer.
Create a New Blank Database: If you're starting a new database, create a new blank database by clicking on "File" > "New" > "Blank Database." Give your database a name and choose a location to save it.
Design View vs. Datasheet View: Once your database is created, you can either start in "Design View" to define the structure of your table or directly in "Datasheet View" to start entering data. We'll use "Design View" to create the table structure.
Add a New Table: In the main database window, click on the "Table Design" button. This will open the "Table1: Table" window in Design View.
Add Fields (Columns): In the "Table1: Table" window, you'll see the "Field Name" column and the "Data Type" column. Enter the desired names for your fields in the "Field Name" column. These are the columns that will appear in your table.
Specify Data Types: In the "Data Type" column, choose the appropriate data type for each field. Data types include "Text" for text data, "Number" for numeric data, "Date/Time" for date and time data, and more. This helps Access understand the type of data each field will hold.
Set Field Properties: You can set additional properties for each field by right-clicking on the field name and selecting "Properties." This allows you to define things like field size, format, input mask, validation rules, etc.
Define Primary Key (Optional): In most cases, it's a good idea to define a primary key for your table. A primary key uniquely identifies each record in the table. To set a primary key, right-click on the field you want to use as the primary key and select "Primary Key."
Save the Table: Once you've added all the fields and set their properties, save the table by clicking the disk icon in the toolbar or by pressing "Ctrl + S." You'll be prompted to give the table a name. Enter the desired name and click "OK."
Switch to Datasheet View: After saving the table, you can switch to "Datasheet View" to start entering data directly into the table.
Entering Data: In "Datasheet View," you'll see your table's columns. Enter data into the corresponding rows for each field.
Save and Close: After entering data, save your changes by clicking the disk icon again. You can then close the table.
That's it! You've successfully created a table in Microsoft Access. Remember that you can always go back to "Design View" to make changes to the table structure or properties if needed.
Data Types and their Properties:
Here's a description of each data type commonly used in Microsoft Access and their properties:
Text (Short Text/Long Text):
Description: The "Text" data type is used to store alphanumeric text data. "Short Text" is used for shorter strings, while "Long Text" is used for larger blocks of text.
Properties: You can set the maximum length of characters for "Short Text." For "Long Text," you can also set whether rich text formatting is allowed (e.g., bold, italics) and the number of paragraphs.
Number (Integer/Long Integer/Single/Double/Decimal):
Description: The "Number" data type is used for numeric data, including whole numbers and decimal numbers.
Properties: You can define the field size, which determines the range of values that can be stored. The "Decimal" data type allows you to specify the number of decimal places.
Date/Time:
Description: The "Date/Time" data type is used for storing date and time values.
Properties: You can specify the format in which dates and times are displayed and whether the field can store only dates, only times, or both.
Currency:
Description: The "Currency" data type is used to store currency values.
Properties: Similar to the "Number" data type, you can define the field size and specify the number of decimal places.
Yes/No (Boolean):
Description: The "Yes/No" data type is used for storing boolean (true/false) values.
Properties: You can define the display format for the field, which determines how "Yes" and "No" values are shown.
AutoNumber:
Description: The "AutoNumber" data type is used to automatically generate a unique number for each record. It's often used as a primary key.
Properties: You can define the field size, increment, and starting value. The AutoNumber field automatically increments by the specified value for each new record.
Attachment:
Description: The "Attachment" data type is used to store attachments, such as images, documents, or files.
Properties: You can specify the maximum size of attachments allowed.
Hyperlink:
Description: The "Hyperlink" data type is used to store web addresses or links to files.
Properties: You can specify the display text and address for the hyperlink.
Lookup (Combo Box/List Box):
Description: The "Lookup" data type creates a dropdown or list box where users can select a value from a predefined list.
Properties: You define the lookup data source, such as a table or query, and choose which fields to display.
Calculated:
Description: The "Calculated" data type is used to create calculated fields based on expressions involving other fields.
Properties: You define the calculation using formulas involving other fields and operators.
These data types and their properties allow you to effectively store and manage different types of data in Microsoft Access databases.
