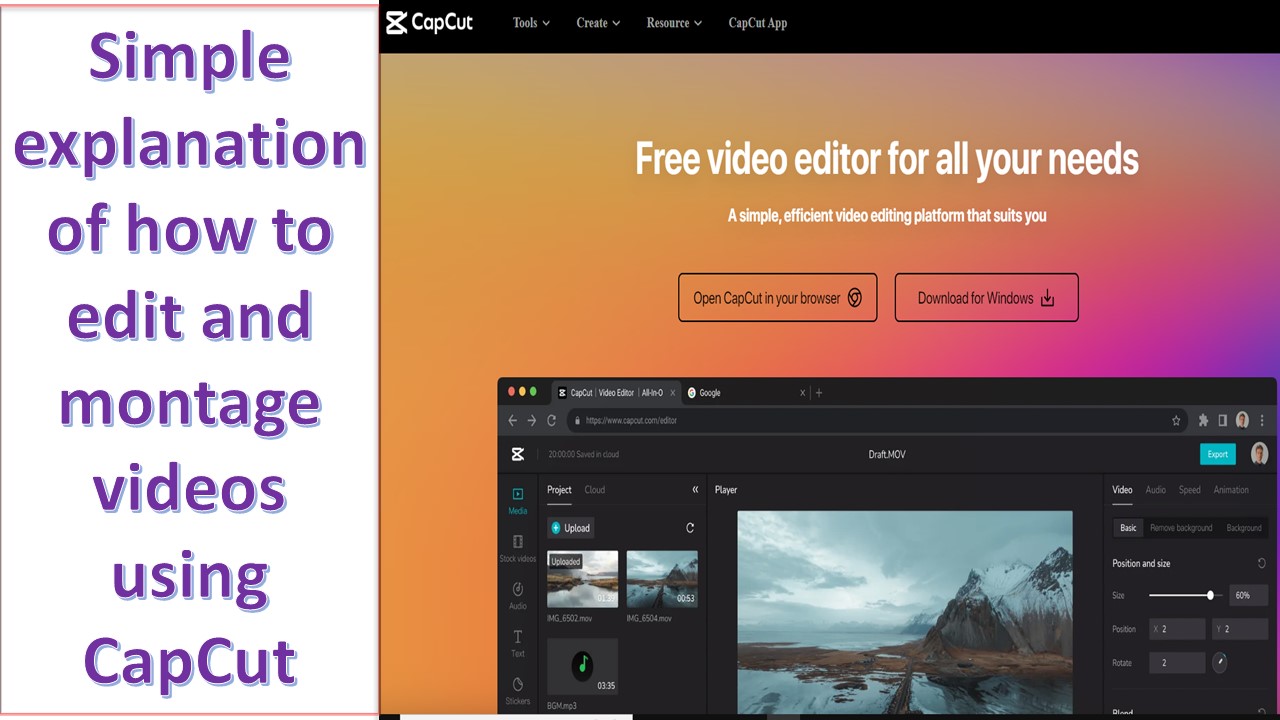
CapCut is a powerful and user-friendly video editing software that provides users with a fantastic opportunity to create stunning video content. In this guide, we will take you step by step through the process of using CapCut, starting from downloading and installing it, all the way to exporting the final video. We will explain how to import and arrange clips, add effects and audio enhancements, make adjustments to text, and more. With this guide, you will gain the basic skills to easily create amazing videos using CapCut.
Here are the steps to work with CapCut software, from installation to exporting the final video:
1. Installation:
Visit the official website or app store for your device (CapCut is available for Android and iOS).
Download and install the CapCut application on your device.
2. Launching the App:
Open the CapCut app after installation.
3. Creating a New Project:
Tap on the "+ New Project" button to start a new video editing project.
4. Importing Media:
To add media files to your project, tap on the "Import" button.
Select videos, photos, and music from your device's storage.
5. Editing:
Drag and drop your media files onto the timeline at the bottom.
Use the timeline to trim, cut, split, and arrange your clips.
Add transitions, effects, text, stickers, and music to enhance your video.
Adjust the speed, brightness, and other parameters as needed.
6. Adding Text and Stickers:
To add text, tap on the "Text" option, choose a style, and customize it.
For stickers, tap on the "Stickers" option and select from the available stickers.
7. Applying Effects:
Explore various video and audio effects available in CapCut and apply them to your clips.
8. Adding Music:
To include background music, tap on the "Music" option, and choose a track from your library or CapCut's built-in music.
9. Previewing Your Video:
Tap the "Play" button to preview your edited video.
10. Adjusting Transitions: - Fine-tune transition effects between clips by selecting and customizing them.
11. Exporting the Video: - Once you are satisfied with your video, tap on the "Export" or "Save" button. - Choose the export settings, including resolution, quality, and file format. - Specify the destination folder for the final video. - Tap "Export" to start the rendering process.
12. Saving and Sharing: - After rendering is complete, your video will be saved to your device. - You can now share it on social media, upload it to YouTube, or use it as desired.
13. Saving the Project: - To save your project for future edits, you can tap "Save Project" or "Save Draft."
That's it! You've successfully created and exported your video using CapCut. Enjoy your edited content and share it with your audience.